1. What are my daily energy requirements?
Answer: List out every device or appliance you plan on running (phones, lights, fridge, tools), note down the wattage, then think about the daily usage in hours. Next, multiply the wattage by the hours for each item, then add them together to find your total daily watt-hours (Wh). Add a 20% buffer on top to cover any emergencies and cloudy days. This Wh figure should work as a rough guide to find the right battery capacity and solar size.
2. How do I size a solar array?
Answer: Divide your daily Wh need (including the buffer, so you’re not caught short!) by average daylight hours of when and where you plan to camp. For example, 1200Wh ÷ 5 hours = 240W of power necessary. Factor in some extra space to make up for any seasonal changes or shady spots.
3. How does iTechworld solar panels perform in poor weather?
Answer: You’ll always get the most from our panels in direct sunlight and you won’t get the same high level of results on overcast days. However, you’ll still be able to enjoy enough power to run all the basic necessities.
4. What safety features must I include?
Answer: Look for components with:
Battery Management Protections:
-
Over-charge & over-discharge cutoff:
Stops charging when the battery is full and prevents deep discharge below safe levels. -
Reverse-polarity safeguard:
Prevents damage if you accidentally swap the positive and negative connections.
Fault & Load Protection:
-
Short-circuit & over-current shutdown:
Automatically cuts output if there’s a direct fault or the current draw exceeds safe limits. -
Load disconnect outputs:
Some controllers will shut off non-essential loads if battery voltage drops too low.
Thermal Management:
-
Passive cooling & smart fans:
Prevents overheating in charge controllers and inverters by ramping up cooling as needed. -
Temperature compensation:
Adjusts charging voltages based on battery temperature to avoid under- or overcharging in extreme heat or cold.
Proper Fusing & Cable Sizing:
-
Fuses or circuit breakers at each positive connection:
Place these close to the battery’s positive terminal, and again at major system hubs, to stop dangerous currents in a fault. -
Correct cable gauge:
Match cable thickness to the maximum current of each run (solar to controller, controller to battery, battery to inverter) to avoid overheating and voltage drop.
Ingress & Environmental Ratings:
- IP enclosure ratings:
Ensures controllers, inverters, and battery boxes resist dust and water, critical for caravans, boats, and outdoor gear.
5. How do I integrate and wire everything?
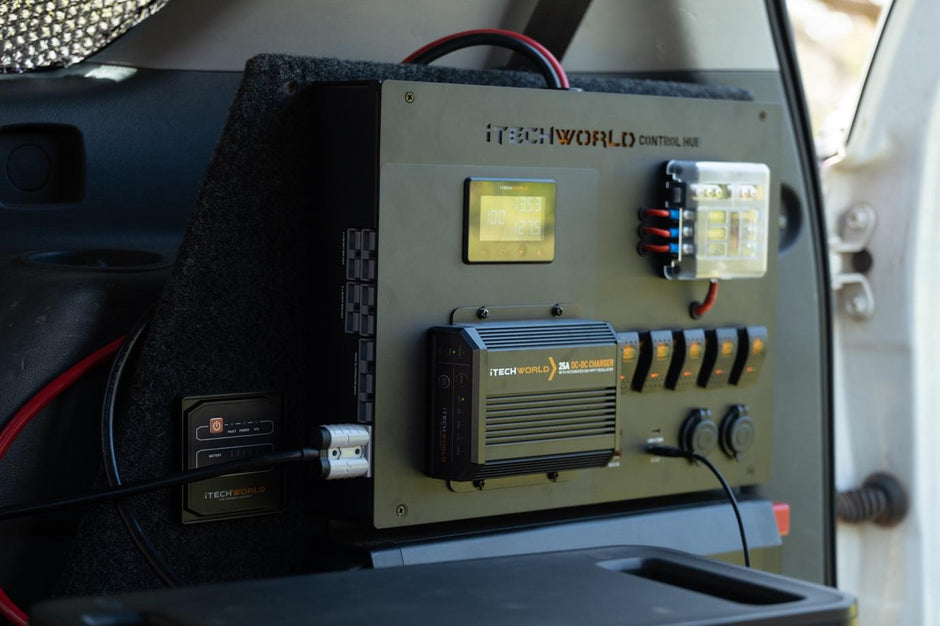
Answer: A typical setup flows:
1. Gather Your Gear
-
Solar panel (e.g. a 170W hard-frame or 200W Solar Mat)
-
Solar charge controller (either PWM or MPPT)
-
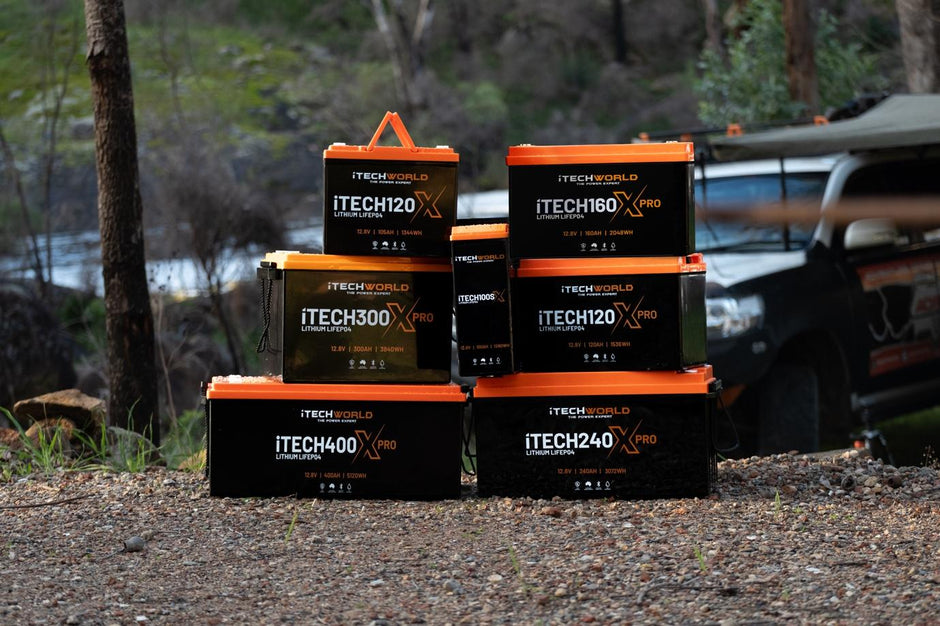
12V/24V battery (deep-cycle storage battery)
-
Inverter (if you need 240V power for plugs)
-
Cables & connectors (any that are necessary for your installation)
-
Basic tools: drill (for cable entry), screwdriver, wrench, and a knife or wire-stripper
2. Pick & Prep the Mounting Spot
-
Panel: Choose a flat, sun-facing surface, usually your caravan roof or the top of your ute canopy.
-
Controller & Battery: Find a dry, sheltered spot inside (e.g. under a bench or in your battery box) close enough to both the panel and battery.
3. Mount the Solar Panel
-
Position the brackets: Lay out your panel in the sunniest orientation.
-
Drill holes: Mark and drill small pilot holes for the mounting feet.
-
Seal & Screw: Apply superglue or silicone around each hole, then fasten the brackets securely.
(If you have a solar blanket or mat, feel free to mount and angle your solar solution as you like, when you want!)
4. Run the Cables
-
Roof to controller: Feed the panel’s cable through the roof gland into your cabin or battery compartment.
-
Seal up: Ensure the rubber gland or seal is tight to prevent water from seeping in.
5. Connect the Panel to the Charge Controller
-
Polarity check: Match the “+” (red) and “–” (black) wires from the panel to the controller’s solar input.
-
Secure: Depending on your controller, either click in the plugs or screw the terminals down.
6. Connect the Controller to the Battery
-
Battery terminals: Attach the controller’s “battery” wires to your battery: red to the positive (+) post, black to the negative (–).
-
Add fuse/circuit breaker: Ideally, place a small fuse or breaker (included in most kits) close to the battery’s positive terminal to protect the cable.
-
Power up: Turn on the controller; most will light up or display a simple status indicator.
7. Hook Up Your Inverter or 12V Loads
-
Inverter: Connect your inverter’s input leads directly to the same battery posts (again, red to +, black to –).
-
12V appliances: If you’re running lights or a fridge straight from the controller’s load output, plug them into the labelled “load” ports.
8. Test & Enjoy
-
Load Test: Plug in a small device (phone charger, light) or switch on some of your 12V gear to confirm everything works.
6. What maintenance keeps my system healthy?
Answer:
-
Batteries: Avoid deep discharges below the recommended limits; recharge promptly. Store at ~70% state of charge when idle.
-
Panels: Clean every few weeks. Did you know dust and grime can reduce output by up to 25%?
-
Connections: Inspect and tighten terminals quarterly; clean corrosion with proper contact cleaner.
Routine checks also prevent failures and extend the life of components.
7. Can I expand my system later?
Answer: Yes. All of our systems are your charge controller and inverter have spare capacity and run cable looms sized for future loads. Use combiner boxes or busbars rated for higher currents, and match new batteries to your existing bank’s voltage and chemistry. Planning ahead goes a long way in avoiding costly rewiring jobs.
8. What support and warranty should I expect?
iTechworld provides a 12-month warranty from the date of purchase (unless stated otherwise), covering defects in materials and workmanship. This goes beyond your rights under Australian Consumer Law.
If something does go wrong, our support team is ready and waiting to help, all with return labels and freight quotes to simplify the process. Please note, the warranty doesn’t cover damage from misuse, wear and tear, or operation outside the instructions.


