Watch Luke and Jess from As We Wander install their 12V setup in their Viscount Caravan
Power-Packed Caravan Build: The Ultimate Electrical Setup
Welcome back, guys, to what is perhaps the most important episode of our entire build series. In this episode, we're diving deep into the electrical setup of our caravan. Thanks to our sponsors, this build has become not only possible but also enhanced. We are thrilled to introduce the incredible products from iTech World that have made our dream build a reality. In this blog post, we'll walk you through every aspect of our electrical system, from the batteries to the chargers, and share valuable tips for wiring it all up. So, buckle up and get ready to learn how to create your own power-packed setup!
Power and Freedom with Gas-less Living
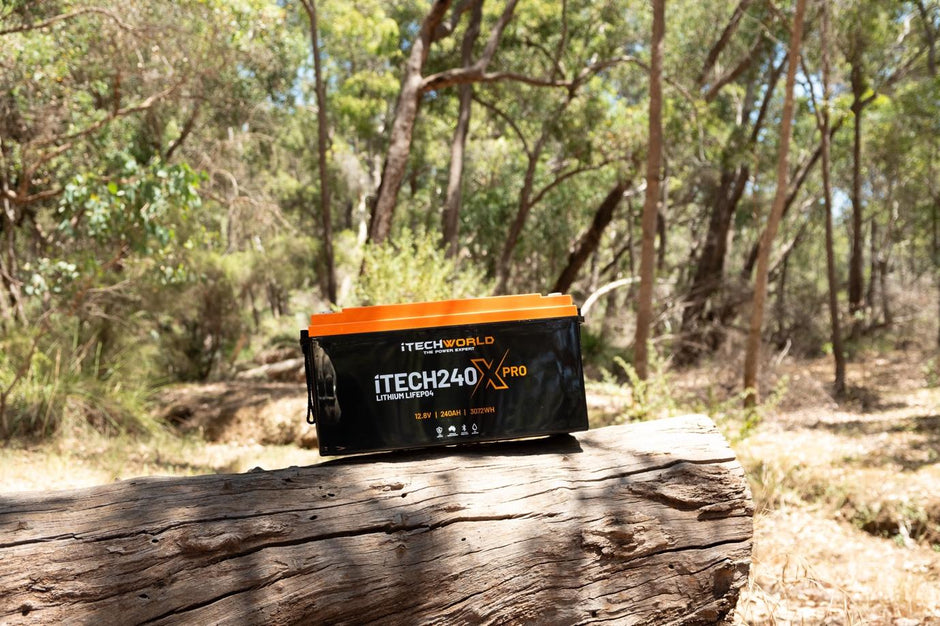
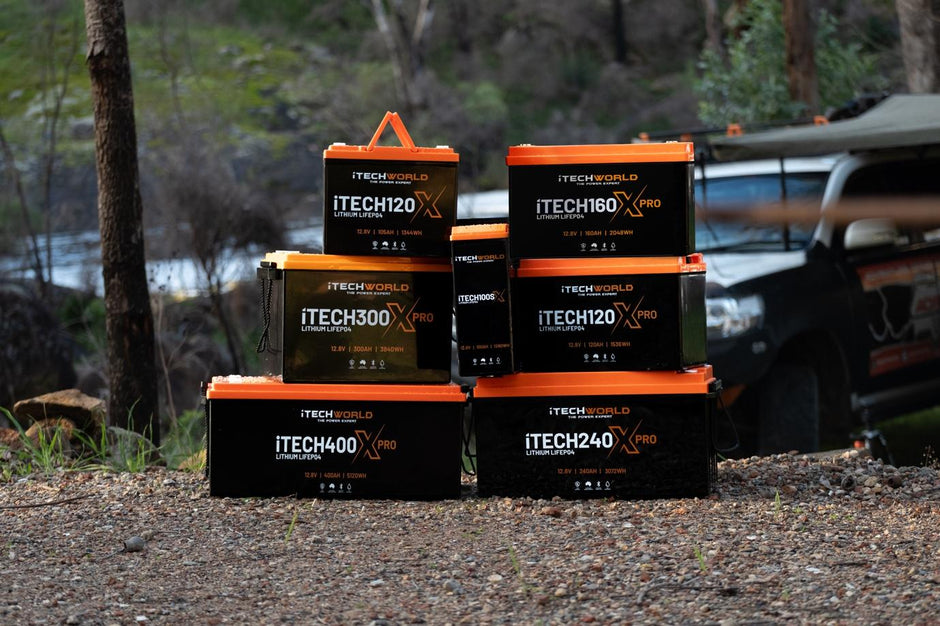
One of the primary reasons we are ecstatic about our electrical setup is the freedom it provides. We have opted for a gas-less system, and to achieve this, we require a significant power output and storage capacity. Thankfully, the batteries from iTech World have come to our rescue. These high-discharge batteries can handle a continuous output of 250 amps, with a peak output of 500 amps. With these batteries, we can power a range of appliances, including our 3000-watt inverter, induction cooktop, 12-volt hot water system, and even a small air conditioner. Our caravan is truly a haven of luxury and comfort, and we can't wait to share all the details with you.
Understanding Battery Setup
When setting up a 12-volt system, the batteries are the key component. They determine the size of the inverter, the type of chargers you can use, and the overall functionality of your setup. It's crucial to consider the amperage capabilities of your batteries, as this will impact the performance of your entire system. In our case, the batteries from iTech World can handle a continuous discharge of 250 amps, which is sufficient for our 3000-watt inverter. To parallel the batteries, it's essential to stay within the limits of a single battery to avoid potential damage. By following these guidelines, you can calculate the number of appliances your setup can handle based on the power requirements.
Charging Options
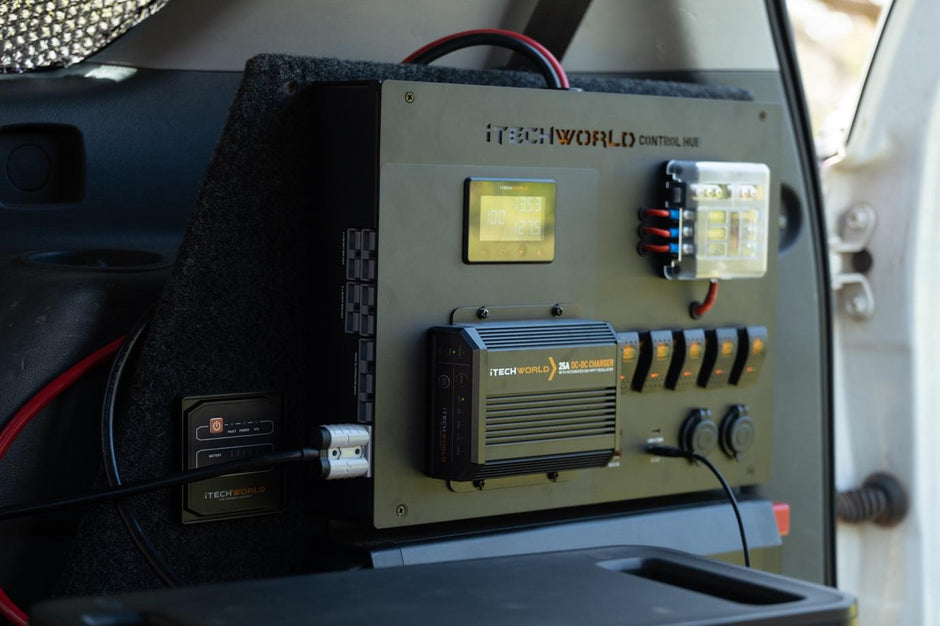
To keep our batteries charged, we have opted for both a DC to DC charger and an MPPT charger. The DC to DC charger connects to our car alternator, allowing us to charge the batteries while driving. Simultaneously, the MPPT charger utilizes solar power to provide a continuous charge. This combination ensures that our batteries are always topped up and ready for use. We also have the flexibility to add a foldable solar panel, which can be connected to the MPPT charger when parked, further increasing our charging capacity. With this setup, we can enjoy uninterrupted power wherever we go.
Solar Power with iTech World Panels
Speaking of solar power, we are thrilled with the solar panels we've installed from iTech World. These new panels provide a substantial power output of around 16-24 amps in peak conditions. With a 40-amp MPPT charger, we can harness the maximum energy from the sun and charge our batteries efficiently. Additionally, we have room to expand our solar capacity by adding another panel if needed. These high-quality panels ensure that we have a reliable and sustainable power source for our caravan.
The Heart of Power: Inverter and Battery Monitor
Our setup wouldn't be complete without a robust inverter, and we've chosen a 3000-watt inverter to handle our power-hungry appliances. From induction cooktops to air fryers, this inverter can handle it all. Additionally, we've installed a battery monitor using a shunt. This device allows us to accurately measure the charge going in and out of the batteries, giving us a clear understanding of their status and performance. It's an essential tool for managing our power consumption and ensuring the longevity of our batteries.
Wiring and Installation Process
With the foundational components in place, it's time to wire everything up and ensure a safe and efficient electrical system. We've used appropriate cables and connectors to handle the required amperage, ensuring minimal voltage drop and maximum performance. It's important to follow best practices when wiring the system, such as keeping cables as short as possible and ensuring proper grounding. We've carefully planned the placement of our batteries, chargers, inverters, and fuse blocks to optimise space and accessibility. The end result is a neatly organised electrical setup that will provide reliable power for our adventures.
Adding Appliances and Final Touches
Now that the core electrical system is in place, we can start adding our appliances and putting the finishing touches on our build. We've installed Sirocco fans for ventilation, a USB charger for convenient device charging, and a 12-volt hot water system for all our washing and showering needs. We've also wired power points strategically throughout the caravan to cater to our various electrical requirements. Each appliance and accessory has been carefully chosen to enhance our comfort and convenience on the road.
Adventure On
Phew! That was a whirlwind journey through our caravan's electrical setup. We've covered the batteries, chargers, solar panels, inverter, and the process of wiring it all up. With the help of iTech World's exceptional products, we've created a powerful and reliable electrical system that allows us to enjoy the luxuries of gasless living. We hope this blog post has provided valuable insights and inspiration for your own electrical setup. Stay tuned for our next episode, where we'll delve into the plumbing aspect of our build. Don't forget to like, subscribe, and join us on this incredible adventure!