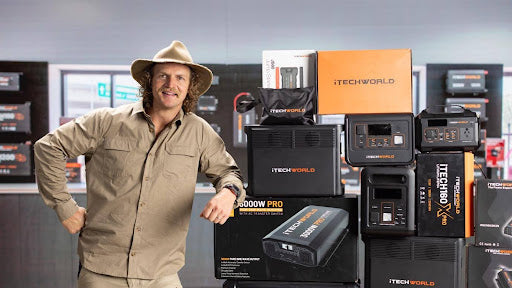
YouTubers Wade and Dani recently swapped out their AGM batteries for iTechworld lithium batteries for their campervan. Wade talks about some of the common mistakes people make with their 12V system and why converting to lithium is a great idea for your caravan or campervan.
Read the video transcript
Welcome back to our channel, everyone! In this week's episode, we have something exciting in store for you. We're going to dive into our 12-volt system and discuss the mistakes we made along the way. Our goal is to share our experiences so that you can learn from our blunders and provide you with valuable tips to avoid making the same errors. As always, we're Wade and Dani, and for the past 14 months, we've been on an incredible adventure, traveling across Australia in our self-converted van, accompanied by our two adorable cats, Gatinha and Jon Snow. Don't forget to subscribe to join us on this amazing journey.
When we started building our van, there were many aspects of the 12-volt system that I wasn't familiar with. Although I had some experience installing security cameras and equipment, there was still so much to learn. So, if you're planning your own 12-volt system, this video is perfect for you. Let's begin by showcasing our current setup.
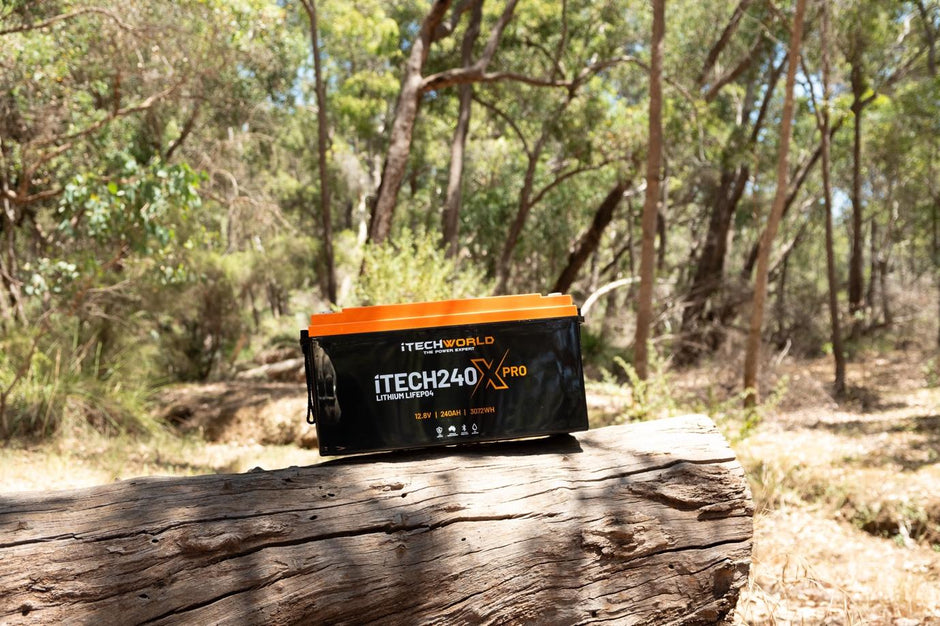
Underneath our bed, we have our entire 12-volt system mounted on a panel. Here you can see our two Solar King batteries, each with a capacity of 200 amps, giving us a total of 400 amps of lithium power. These batteries have been fantastic, providing us with reliable and affordable energy. However, in today's video, we'll be replacing them with iTechworld 240x Pro lithium batteries, and we'll explain the reason behind this decision shortly.
One of the main reasons we chose lithium batteries over AGM batteries is their superior performance. With AGM batteries, you can only utilize around 50% of their total capacity, while lithium batteries allow you to use almost the entire capacity before the battery is depleted. That's one of the significant advantages of lithium batteries—you can utilize up to 90% of their total capacity. However, it's important to note that exceeding this limit can decrease the overall lifespan of the battery. Another advantage of lithium batteries is their weight. The iTechworld 240x Pro weighs only 23 kilos, compared to approximately 65 kilos for an AGM battery with the same capacity. Since our fully equipped van weighs 3.9 tons with a gross vehicle mass (GVM) of 4.1 tons, every kilo saved counts. Opting for lithium batteries helps us reduce unnecessary weight.
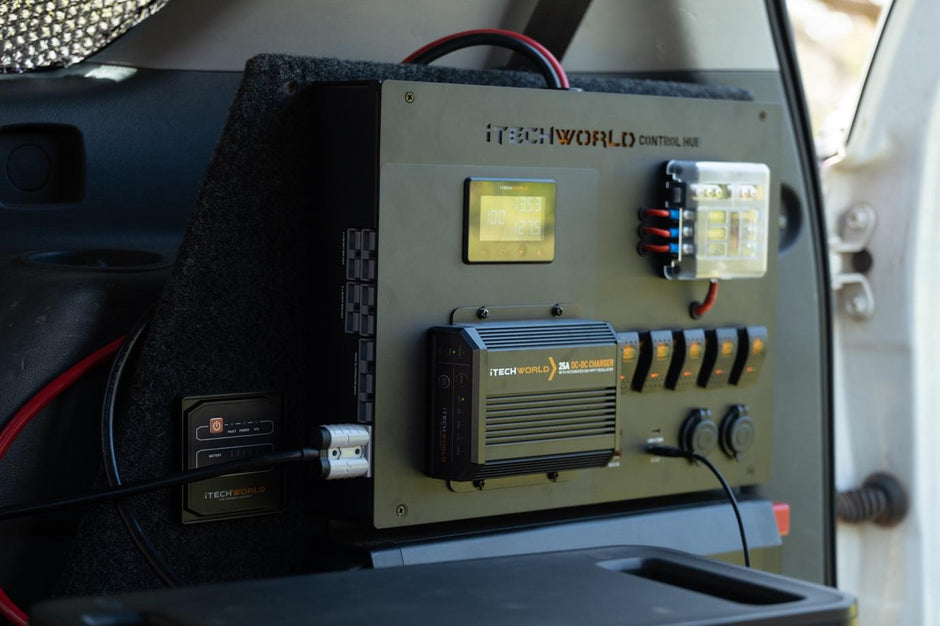
Now, let's move on to our Enerdrive DC to DC charger, a handy device that enables us to charge our batteries while driving. It provides us with around 35 amps per hour. One valuable piece of advice we learned the hard way is to ensure you use the correct cable size. The distance from our van's battery to the batteries under the bed is almost 10 meters. If the cable is too thin, you'll experience voltage drop, preventing the maximum power from reaching your batteries. Unfortunately, we made this mistake and had to replace the cable with a thicker one after receiving advice from a renowned electrical company. If you're unsure about the cable size, it's always better to err on the side of caution and go for a slightly larger gauge.
Moving on, let's talk about our solar panels. We have three 170-watt solar panels on our roof, providing us with approximately 25 amp hours on a sunny day to charge our batteries. Ideally, we would have liked more solar panels, but the limited space on our roof posed a challenge. One great addition we'd love to have is a solar blanket. This would give us almost 800 watts of solar power, which would be extremely useful for topping up our batteries when we're parked for an extended period. A general rule of thumb when it comes to solar panels is to double the solar wattage compared to your total battery amperage. Although our current system falls slightly short of this guideline, we haven't encountered any issues with our batteries not reaching their full capacity during charging.
Now, let's discuss our inverter, which converts 12 volts from the batteries into 240 volts, allowing us to power various appliances such as our induction cooktop, air fryer, and microwave. We opted for the Victron 3000-watt inverter, equipped with a Bluetooth module that allows us to control it using our smartphones through the Victron mobile app. Additionally, the inverter serves as our 240-volt charger, capable of delivering up to 120 amps into the batteries. However, it's crucial to consider each battery's charging capacity. In the case of the iTechworld batteries, the maximum charging capacity is 60 amps, so we adjusted the settings accordingly. If you plan to regularly use 240-volt appliances, AGM batteries are not recommended as they require a larger number of batteries and don't perform as well as lithium batteries in conjunction with inverters.
To keep our entire electrical system running smoothly, we have additional components such as fuses, bus bars, and a shunt for our Victron battery monitor system. This system tracks the power going in and out of the batteries and provides us with vital information. Inside the van, we have the Victron battery monitor display panel, which shows us all the necessary details. We mainly rely on the Victron app to view this information, but we set the display panel to show the battery's percentage remaining for quick and easy reference. It provides us with valuable insights such as the remaining battery capacity, total amperage used, watts going in or out of the batteries, total amps flowing in or out, and estimated battery life remaining.
Now, let's discuss the reason behind our battery replacement. As we mentioned earlier, we have a 3000-watt inverter that requires a battery system capable of handling up to 250 amps of continuous draw. When building our van, I was unaware of the concept of maximum continuous draw and mistakenly believed that two 200 amp lithium batteries would be sufficient to power our inverter. However, I soon discovered the hard way that this wasn't the case. Whenever we ran our induction cooktop on high, it would trip the internal BMS system because our current batteries could only handle a maximum continuous draw of 100 amps. This prompted me to conduct extensive research to determine whether connecting the two batteries in parallel would provide us with the desired 200 amps continuous draw. Unfortunately, I couldn't find a definitive answer, but it seemed that the output would be slightly less than 200 amps, although no one could specify by how much. My estimate is that we were getting around 160 amps of maximum discharge rate, which falls short of what our 3000-watt inverter requires.
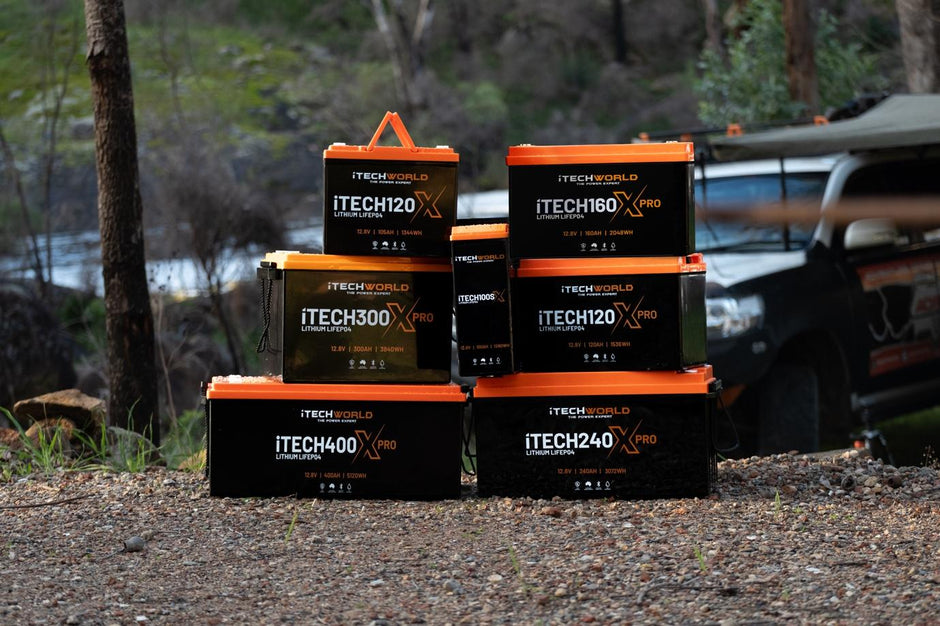
To address this issue, we explored various solutions and stumbled upon the iTechworld 240x Pro batteries. These batteries boast a maximum discharge rate of 200 amps each. By connecting them in parallel, we should achieve a total discharge rate of approximately 300 amps, which comfortably exceeds our inverter's requirements. Of course, we also had to upgrade our cables to accommodate the higher amp rateage. We switched to B&S000 cables, which should allow around 290 amps—more than enough considering the inverter's maximum pull of about 250 amps.
After some effort, we successfully replaced our batteries, although it took longer than expected. We carried out the task on the side of the road at a rest stop, doing our best to ensure a proper installation. These new batteries offer several features we appreciate, including their durability in harsh Australian conditions. With an IP67 rating, they are well-suited for installation in various environments. Once we've had the chance to thoroughly test these batteries, we'll provide a long-term review in a future video, so make sure you're subscribed to our channel.
Now that our battery system is properly configured with the correct batteries and cables for our inverter, we can confidently rely on our off-grid capabilities without worrying about overloading or the BMS system cutting out unexpectedly. It's worth mentioning that when working with lithium batteries, it's crucial to ensure both batteries are fully charged and have a voltage within 0.2 to 0.3 volts of each other before installation. Failure to do so can damage the internal BMS system. Some battery manufacturers include a balance feature, but it's always advisable to check with the specific manufacturer for their recommendations.
Lastly, if there's one aspect of our electrical system that we would change, it would be adding an MPPT charger. Although our Enerdrive DC to DC charger works perfectly fine and has its own built-in solar charger, it doesn't allow simultaneous charging from the solar panels and the car alternator. Having a dedicated MPPT charger would provide us with the flexibility to charge the batteries from both sources simultaneously, allowing for faster charging when our battery levels are running slightly low.
When planning your own electrical system, it's important to consider that it will likely be one of the most significant expenses during your van build. Therefore, it's crucial to plan ahead and anticipate potential changes or upgrades to avoid the need for replacing components later on. We hope this video has been helpful in providing you with insights and tips to prevent the same mistakes we made. If you found this information valuable or have any questions regarding today's topic, please let us know in the comments below. Stay tuned for next week's video, and until then, happy travels!


