Have you always wanted to install a 12V system, but aren't sure where to start? This is the video for you.
Explore Bound's Daniel walks us through the DIY 12V system for his canopy using iTechworld's iTECH400X PRO lithium battery, 2000W Inverter and Control Hub with inbuilt DCDC40.
Can't watch right now?
Here's a summary of Explore Bound's video:
Daniel's goal is to create a self-contained setup for their travels around Australia next year. To achieve this, he's significantly upgraded from his previous 12-volt system, using iTechworld products.
3 Key Components of the 12-Volt Setup
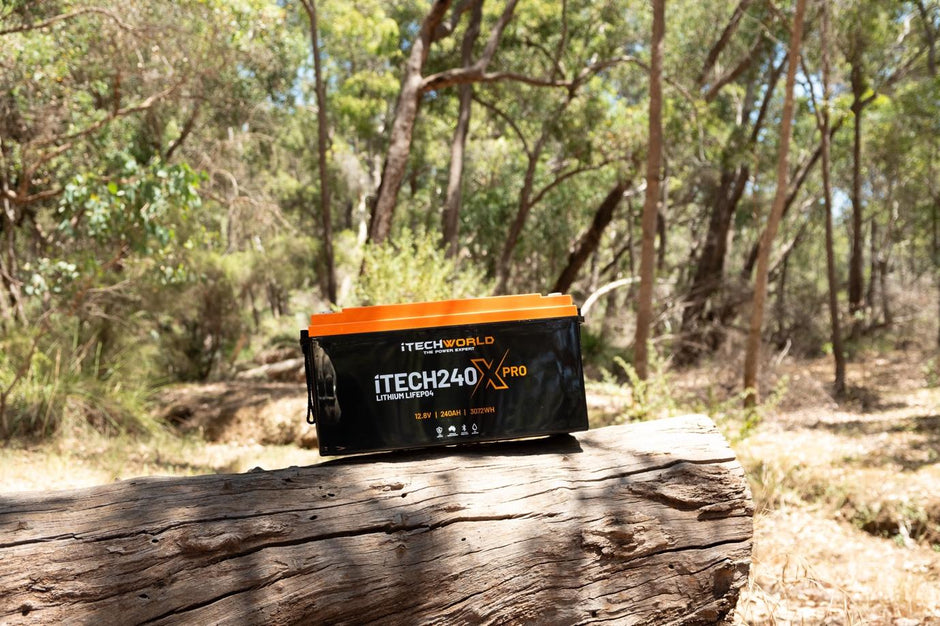
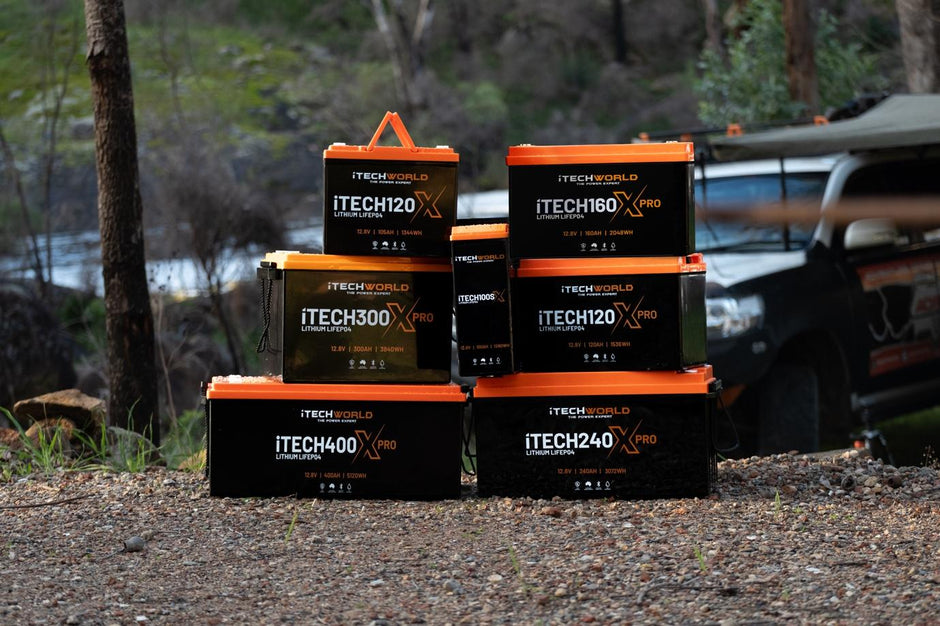
1. Lithium Battery
He starts with iTechworld's new 400X Pro lithium battery, offering 400 amp-hours of capacity. This larger capacity will allow him to power an induction cooktop, fridge, and other devices without worry.
2. 2000W Inverter
This provides 240V power throughout the canopy, essential for an induction cooking setup.
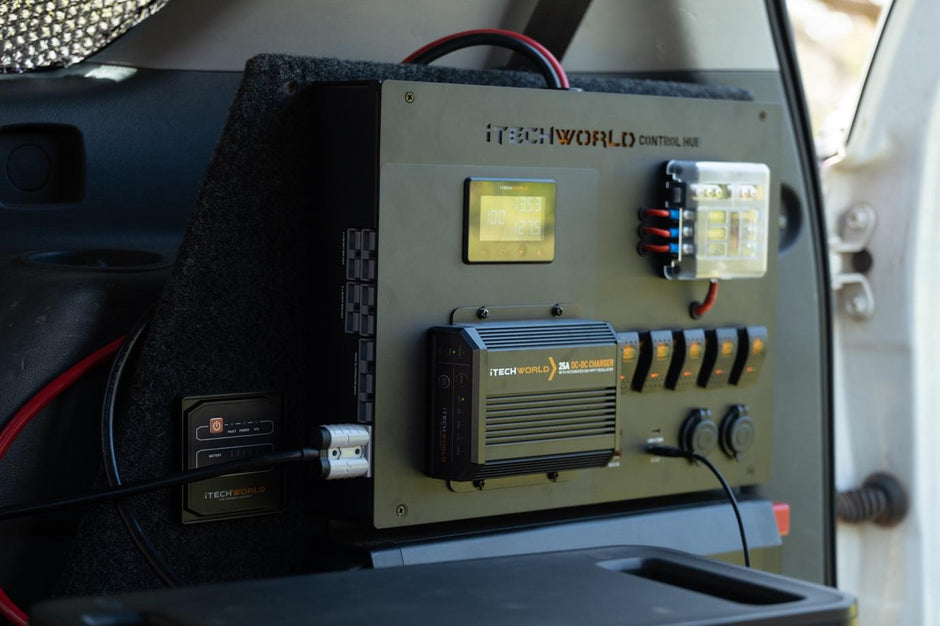
3. 12-Volt Control Hub
The control hub features a built-in fuse box, multiple switches and outlets, and a 40 amp DC to DC charger to keep the battery topped up while driving.

12V System Installation Process
Step 1: Power Inlet and Headboard Installation
The first step is always to ensure you can get power into the canopy. Daniel's MRT canopy came pre-wired with a power inlet panel, simplifying this process.
He then creates custom carpeted headboards to mount his accessories, using 42x9mm pine lengths for spacing and stability.
Step 2: Installing Components
- 12V Control Hub: Mounted on the headboard, this 12V Control hub centralises the power management, including connections for alternator input, solar input, and multiple outlets.
- Inverter: Positioned next to the control hub, the 2000W inverter ensures reliable 240V power.
- Circuit Breakers and Shunt: Installed to protect the system and monitor battery usage.
- Battery: The iTECH400X PRO battery is secured with a custom aluminum frame and anti-vibration matting.
Step 3: Final Wiring and Testing
With all components mounted, Daniel then connects the wiring, using techniques like flood soldering for Anderson connections.
After completing the wiring, the system is tested to ensure everything is functioning correctly.
Initial Testing and Real-World Use
After completing the setup, Daniel tests the system on a camping trip by running a fridge, induction cooktop, and even an air fryer.
The system performs excellently, maintaining over 60% battery capacity by the end of the weekend without any recharging. Explore Bound is pleased with the outcome and confident in the setup's ability to meet their needs for future travels.
This 12 volt setup is a significant upgrade on the old one, providing the Explore Bound duo with the power and flexibility needed for their travels.
iTechworld: Your 12V canopy system experts
If you're looking to set up, or upgrade your DIY canopy system, iTechworld can help with great gear to keep you powered up even the most rugged conditions.
Contact our Perth-based team by sending us a message or calling us on 08 9472 7200. You can also drop in to our store at 291 Great Eastern Highway, Burswood, WA 6100.