iTechworld Jump Starter Troubleshooting

My iTechworld jump starter did not start my car.
Please ensure that you have followed the instructions when using the jump starter. Each jump starter has its own set of unique starting procedures. Below is brief overview.
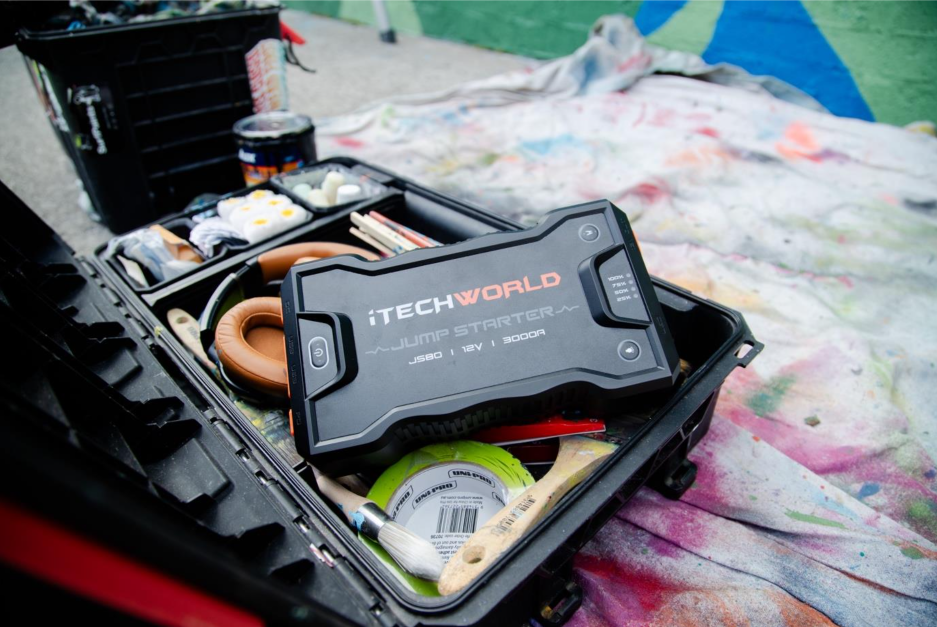
- Turn the JS80 on by pressing the power button.
- Ensure the unit is charged above 50%.
- Plug the clamps into the JS80.
- Connect the clamps to the battery. Positive to positive, negative to negative.
- Click the 'jump' button. The button will now flash green and red LED's.
- When the jump button displays a solid green LED, turn the key and start the vehicle.
- If the jump is successful, disconnect the JS80. If unsuccessful, disconnect the JS80 and restart the process from step 2.
- Ensure the unit is charged above 50%.
- Turn the unit off completely.
- Plug the clamps into the jump starter.
- Connect the clamps to the battery. Positive to positive, negative to negative.
- Click the 'jump button'. The button will now flash green.
- When the jump button displays a solid green LED, turn the key and start the vehicle.
- If the jump is successful, disconnect the JS60. If unsuccessful, disconnect the JS60 and restart the process from step 1.
iTECH2000A
- Turn the 2000a on by clicking the red power button. The display should light up and show you the unit’s battery percentage.
- Ensure the unit is charged above 50%.
- Plug the smart clamps into the 2000a. The display on the clamps should also light up.
- Connect the clamps to the battery. Positive to positive, negative to negative.
- Press the small jump button located on the side of the smart clamps. After a few seconds you should hear a click and see a countdown on the clamp display.
- Once the countdown begins, turn the key and start the vehicle.
- If the jump is successful, disconnect the clamps/2000a. If unsuccessful, disconnect the jump starter and restart the process from step 2.
iTECH900A/iTECH1000A
- Turn the unit on by sliding the power switch on and clicking the power button. Both are located on the side of the unit.
- Ensure the unit is above 50% charge.
- Plug the clamps into the jump starter. The two LEDS on the clamp box should glow red.
- Connect the clamps to the battery. Positive to positive, negative to negative.
- When the LEDs on the clamp box turn from red to blue, turn the key and start the vehicle.
- If the jump is successful, disconnect the jump starter. If it is unsuccessful, disconnect the unit and restart the process from step 2.
There are various other factors that can prevent a car from jump starting:
- Internal resistance has built up in the battery.
- The vehicle’s battery has a collapsed cell.
- The vehicle’s battery terminals have corrosion.
- The vehicle’s battery temperature is too high.
- The vehicles alternator is not working correctly.
- There are too many electrical accessories draining the battery during the jump start.
- The accessories are switched on during the jump-starting process.
- The jump starter clamps are not making a good enough connection to the vehicle’s battery.
- The vehicle’s battery is not the correct size for the vehicle.
- The vehicle’s battery has not been installed correctly.
My iTECH2000A does not run my devices as long as an iTECH1000A/iTECH900A or JS80.
The iTECH2000A differs from other iTechworld jump starters as when the iTECH2000A is switched on, there is still active circuitry running, even if there are no devices connected to it, this includes the wireless charging pad, backlit screen, and voltage regulation for the USB ports, this consumes power. TheiTECH2000A operates differently from other battery banks as the battery pack is at 16 volts, this decreases the usable capacity. Also, the iTECH2000A is designed as a jump starter primarily and functions as battery bank as a secondary feature.
My iTECH2000A does not hold its charge.
An iTECH2000A will lose its charge fairly quickly if it is not switched off. The iTECH2000A has a wireless charging zone and a back lit screen that uses power when the unit is switched on. The iTECH2000A cannot self discharge if it is switched off. To switch the iTECH2000A off, press and hold the large red on/off button until it turns off. Please take care when putting your iTECH2000A back in its case, sometimes the accessories can hit the on/off button and accidentally turn the unit on.
The countdown on my iTECH2000a cuts off prematurely:
This generally indicates an issue with the vehicle’s battery, if your vehicle's battery has developed a lot of internal resistance, it may shut down the countdown on the iTECH2000A intelligent clamps prematurely. To overcome this, you will need to use the iTECH2000A's continuous power mode. Please note that if the vehicles battery is faulty, the iTECH2000A may not start the vehicle:
- Connect the jump starter clamps into the iTECH2000A jump starter.
- Connect the positive clamp to the positive terminal of the cranking battery then followed by the negative clamp to the negative terminal.
- Locate the jumpstart button on the side of the clamps and press it. (It is a small black round button on the side of the clamps) Once pressed the countdown timer will start.
- When the countdown timer is started, re-press and hold the jump start button until the clamps beep twice, and the display will change from the 60 second count down timer to displaying temperature again. There will be a small “on” symbol that will flash towards the top right of the temperature display. Once in this mode, turn the key and start the vehicle.
- If the jump is successful, remove the clamps from the jump starter first, then disconnect it from your vehicle’s battery. If unsuccessful, remove the clamps from the jump starter first, disconnect the clamps from your vehicles battery and restart the process from step 1. (Please note in this mode, the safety features are bypassed at the clamps, the clamps will continuously supply power).
My JS80/JS60 will not run my 12v device.
Please do the following to lock the JS80/JS60 on to run the 12v device:
- Turn off the JS80/JS60 completely.
- Plug in the 12v device to the JS80/JS60.
- Press and hold the JS80/JS60’s ‘on’ button until it powers the 12v device.
- The JS80/JS60 will now stay on and run the 12v device longer.
Please note that although the JS80/JS60 will run the majority of modern fridges on the Australian market, there may be some older fridges that are not 100% compatible. The JS80/JS60's primary function is as a jump starter and back up device, it should not be used as your primary method of running 12v appliances.
My iTECH900A iTECH1000A iTECH2000A will not run my fridge.
Some fridges are not compatible via the standard 12v output of your jump starter. You may require the EC5 adapter to run your fridge via the jump starter. Details on the EC5 adapter are HERE.
I cannot turn the torch on my Jump Starter.
JS80/JS60
- Turn the JS80/JS60 ‘on’.
- Press and hold the torch button until the torch comes on.
iTECH2000A
- Turn the iTECH2000A 'on'.
- Press the on button twice quickly to activate the torch.
iTECH900A/iTECH1000A
- Slide the on/off slider to the 'on' position.
- Press the circle 'on' button to turn the iTECH900A/iTECH1000A on.
- Press and hold the circle 'on' button until the torch comes on.
iTECH400A
- Turn the iTECH400A 'on'.
- Press and hold the 'on' button until the torch comes on.
My JS80/JS60 will not charge via 240v.
- Remove the USBC cable from the JS80/JS60 and 240v charger.
- Alternate the USBC cable so that the end that was in the 240v charger is now in the JS80/JS60.
- Ensure the USBC cables are firmly inside the JS80/JS60 and the 240v charger
- Try charging the JS60/JS80 again.
- If the JS80/JS60 still does not charge via 240v, try to charge via 12v to confirm if the fault is with the 240v charger or the JS80/JS60 itself.
Still having issues? Please email service@itechworld.com.au

